Posted on

Custom Belt Buckle Part Two

The finish work is next in the process to complete the custom belt buckle

Here is a basic idea of my process

  • I filed the soldered joins to make sure the excess solder was removed.
  • Next the parts needed to be gone over with a few grits of wet/dry sand paper.

Papered and ready for polishing by Kate Wilcox-Leigh

Papered and Ready For Polishing

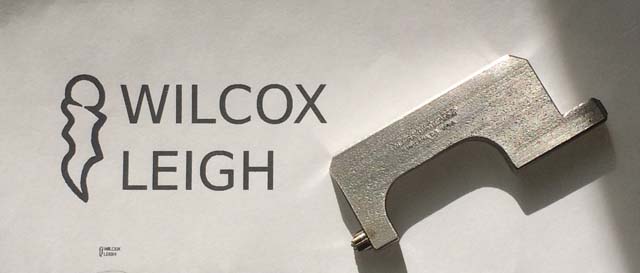
  • I then polished the pieces with Tripoli followed by Rouge
  • Final assembly was done once I was satisfied with the finish

  Finished Buckle by Kate Wilcox-Leigh

  Polished and Assembled

  • The “Finished Belt Blank” arrived needing holes and trimming
  • Once the leather work was done the buckle was put on the belt


Custom Buckle On Belt by Kate Wilcox-Leigh

Completed Buckle On Belt

I was quite pleased with the finished product and so was the customer!

Posted on

Custom Belt Buckle Part One

A customer approached me with a request to recreate a custom belt buckle they had unfortunately lost some time ago.

All custom pieces begin with a conversation.  Once the designer and the customer agree on the specifications work can begin.

  • I started out using straight round wire stock in the correct gauge.
  • I formed it into the circle then soldered it using the rosebud tip on my mini torch.
  • The next steps were to cut the bar, fit it and solder it in place.

Process Torch

Smith Little Torch with Rosebud melting tip used for soldering the buckle

  •  The tang was then formed from a smaller size stock.

Custom buckle placed on sketch


This is a photo of the soldered buckle placed over the sketch

Look for the next blog post about the finished piece coming soon!